Got yourself a new pair of cleats? Great choice - with summer just around the corner, there is no better time to pick up a ball and get back out on the pitch, practicing your trick flicks, half-volleys, and team celebrations.
But as the most essential piece of kit you have on the turf, your boots need to be treated with more reverence and respect than even your most prized soccer possessions, including that shirt you got signed as a child by your favorite star.
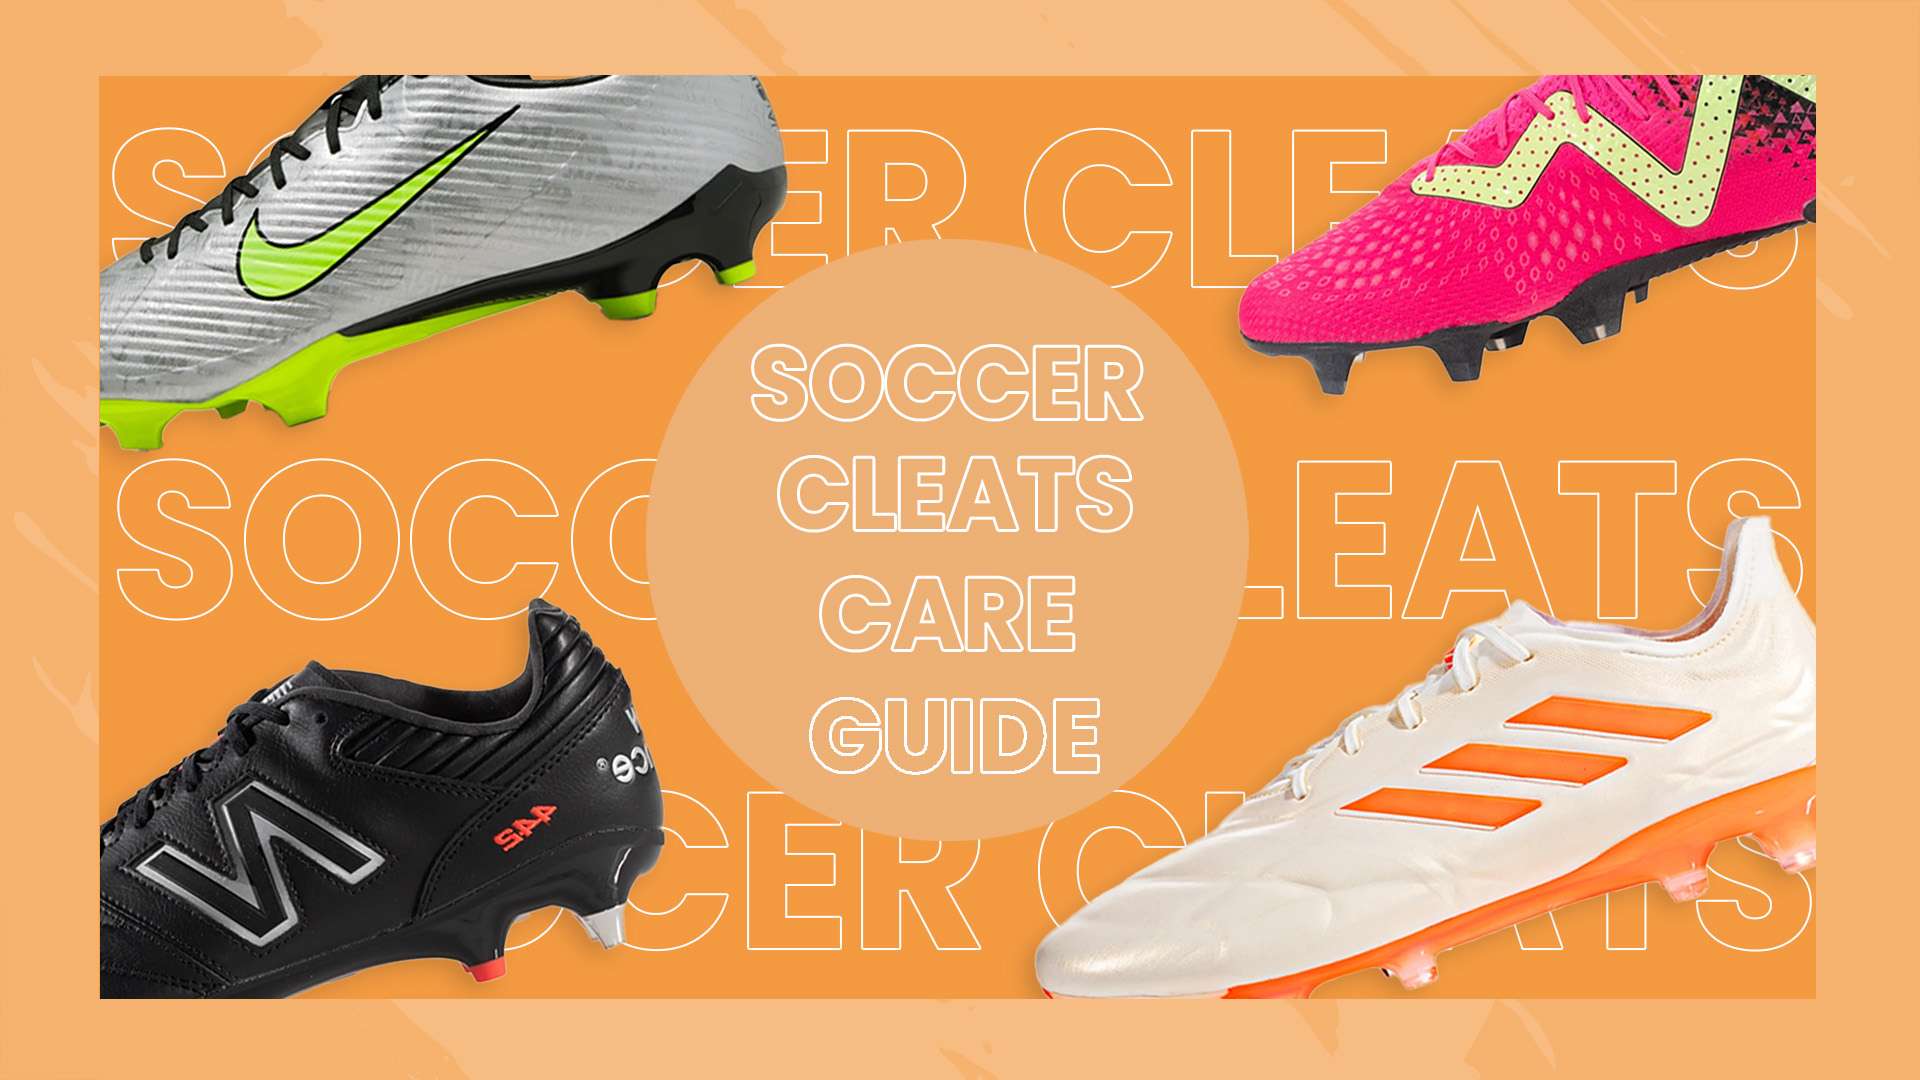
Looking for the best soccer cleats of 2023? GOAL has you covered.
With that in mind, it's best to know all the ins and outs of maintaining those cleats, the tricks of the trade when it comes to ensuring you don't accumulate long-term damage and find yourself back down the shop, having to pick up another pair before too long.
Here, GOAL has seven clever tips that can help you preserve your cleats, keep them clean and maintain that championship finish that will help keep you at the top of your game.
1. Check washing instructions
First things first. Before you do anything to your cleats, make sure you have checked the specific washing instructions that will come with your fresh pair of boots. You can typically find this inside the tongue of the shoe, near the roof, or potentially in the packaging they came in.
When it comes down to the finer details, it's good to know what kind of material your cleat is made of and what treatment it has previously undergone. Cleaning instructions for a knitted or synthetic pair of cleats will likely differ wildly from the processes required to keep leather boots in tip-top shape and working order.
Once you've checked those details, you can work out what is suitable to use when it comes to washing your cleats.
2. Gently knock soles together
Once you've finished a match, you're likely to be carrying the marks of a hard-fought game - and a hard-fought pitch too. The natural mold and construction of virtually all cleats, whether bladed or studded, means they tend to catch turf within them that sticks fast throughout matches.
The most rudimentary and effective way to clean that is to wait for the mud and grass underneath to dry. Once it has hardened, take your cleats by the upper heel and gently knock the soles together. This will dislodge large chunks of turf that have remained attached to the underside of your boot.
Try to avoid doing this before it has dried, lest you risk a squelchy mud spray effect that can leave a dramatic splatter in its wake. Likewise, don't knock your cleats together too hard, as this can cause damage to the undersole and potentially shorten the boot's overall lifespan with unneeded wear and tear.
3. Use a small brush
Once you have got the worst of the mud and turf off, it is time to take a more delicate approach to cleaning the rest of your cleats. You'll need a small brush, preferably with softer bristles - an old toothbrush can do the job, while wire is to be avoided, lest it cause lasting damage to the body of your boot.
Gently take each boot and use the brush to scrap excess mud and dirt off. Start at the upper, and work your way around the cleat's body, ensuring you properly treat the stitching with care, again avoiding damage to the shoe.
Move to the underside afterwards. Repeat the gesture with each stud and blade and scrape off the remaining mud not dislodged by knocking. You can be a little firmer against the sole plate here, but make sure to cover each inch, and that any remaining small or medium clumps are disposed of.
4. Wash with soap and water
With the worst of the mud off, take an old cloth or small sponge and soak it in water. This can be cold or warm, though not hot. Mix it through with a small amount of washing-up liquid or soap.
Take the cloth, and ring it out. Now, gently apply it around the exterior of the boot, starting once again with the upper and working your way around. Once you have finished there, repeat the procedure across the sole plate.
Do not use the cloth inside the cleat. You want that to remain dry and free of excess liquid. In addition, make sure the soap you use corresponds with that recommended in the cleat's specific cleaning instructions. Some cleats will take damage from certain oils, so it is key to be aware of this.
5. Rinse off soap
With the boot washed, it is now time to rinse it. Again, minimal liquid use is recommended, but it is essential to clean away any excess soap in order to help preserve the material of the cleat and ensure further longevity.
There are multiple options that can be used to rinse off a boot. A damp cloth, a dry cloth, or an alternated approach between the two can allow you to remove excess soap while simultaneously wicking excess moisture away from the surface of the cleat. As mentioned above, start with the upper of the boot and work your way around, before repeating the process across the underside.
6. Dry with a clean cloth or air dry
Now with the soap washed away, deposit the damp cloth if you have used one, and focus on the dry cloth. Using that, continue to wick away excess moisture around the boot, from the upper through the sole plate, in order to remove any remaining liquid.
This is not a step that is essential however. Another way to dry your boot is to let it air dry - simply leave it outside and allow nature to take its course. This is more of a hassle-free way to do so, and often just as effective, though it would be wise to check the weather forecast before you do and ensure you are not in for a nasty surprise.
7. Stuff old newspaper inside
Now for the inside of your cleat. If you have indeed ended up with a wet insole, the most efficient way to dry them is to fill your cleats with something that can absorb the moisture. Stuffing your boots with old newspaper is an effective method, though it may need to be changed every few hours, dependent on how sodden the material is.
Drying the interior of your cleat will also help it smell clean. Other items have been known to be used in the past in order to have the desired effect, with teabags another popular option.